
From Fabric to Finished: Your Ultimate Guide on How to Sew a Jacket

Table of Contents
- Before You Start: Selecting Your First Jacket Project
- Gathering Your Arsenal: Tools & Materials That You Should Have
- The Blueprint: Prepping Your Pattern and Fabric
- The Main Event: How to Sew a Jacket, Step by Step
- Pro Skills: Breaking the Common Jacket-Sewing Problems
- Frequently Asked Questions (FAQ)
- FAQs
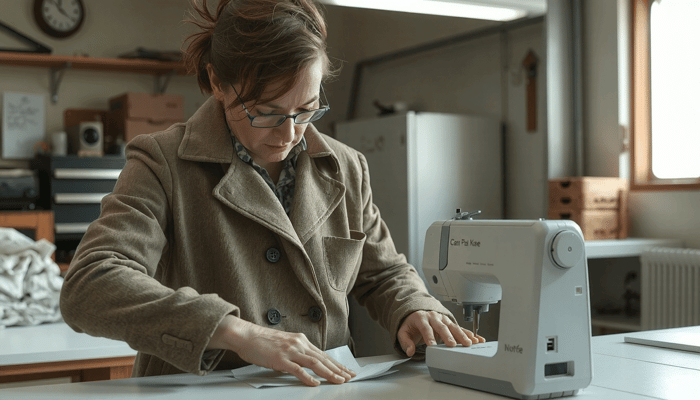
Making a first-time jacket is a big milestone in sewing. It is the thing that differentiates the casual hobbyist from the serious garment maker. To tell you the truth, sewing a jacket is totally manageable. Just be patient, use precision, and follow some good instructions.
This article will be your guide. We shall take you through various topics starting from how to select the right type of sewing.
Before You Start: Selecting Your First Jacket Project
Your primary decision will happen even before taking up scissors. Choose a pattern that fits your existing skills. This is the most important factor for success. Worrying too much leads to undesirable results. Choose wisely to have an enjoyable experience that will add to your skills and confidence.
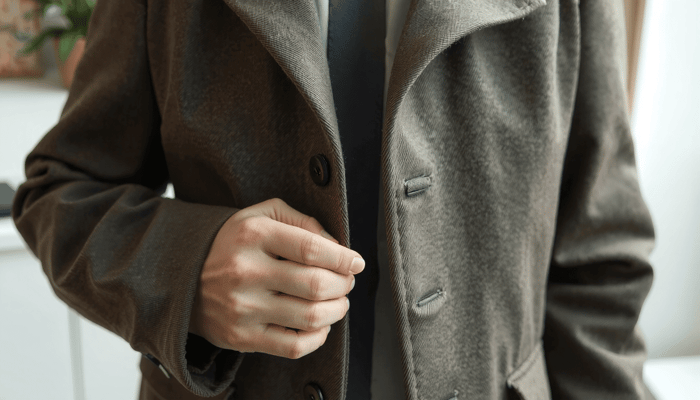
Think of this as your decision tree for the first jacket. We've categorized popular styles to help you choose wisely. An unlined chore coat is an excellent option. Check out the link to see how despite being simple, construction can appear very stylish.
| Jacket Style | Key Features | Recommended Skill Level |
|---|---|---|
| Unlined Chore Coat | Simple construction, patch pockets, flat collar, no lining. | Confident Beginner |
| Kimono-style Jacket | Open front, drop shoulders, simple bands instead of a collar. | Confident Beginner |
| Lined Bomber Jacket | Ribbed cuffs/hem, zipper front, set-in sleeves, full lining. | Intermediate |
| Basic Blazer | Notched collar, set-in sleeves, facings, optional lining. | Intermediate to Advanced |
Gathering Your Arsenal: Tools & Materials That You Should Have
Good preparation means no problems. Before you start sewing, gather all your tools and materials. This is the key to a smooth, no-interruption job. We have categorized your shopping list into must-haves that you need for the jacket and other items that will make the jacket look professionally made.
Choosing Your Fabric Wisely
A good choice of fabric is what matters during your first jacket. Consider durable fabrics such as cotton canvas, denim, twill, corduroy, and donegal wool. They are all easy to cut, don't slip under the needle, and press easily. As a result, they are very forgiving to beginners. Avoid very thick, slippery, or stretchy fabrics until you are more experienced.
Essential Toolkit Checklist
Must-Haves:
- Jacket Pattern
- Main Fabric & Lining Fabric (if applicable)
- All-Purpose Polyester Thread
- Sewing Machine with a fresh needle (size appropriate for your fabric)
- Sharp Fabric Scissors or Rotary Cutter & Mat
- Glass Head Pins or Pattern Weights
- Measuring Tape
- Iron and Ironing Board
Highly Recommended for Professional Finish:
- Interfacing: This adds structure to collars, cuffs, and button plackets.
- Tailor's Ham and Seam Roll: These curved pressing tools let you press seams on shaped areas like shoulders and sleeves without flattening them.
- Wooden Clapper: Used after steaming, a clapper sets seams by trapping heat and moisture. This creates incredibly flat, crisp seams.
- Walking Foot: This sewing machine foot feeds top and bottom fabric layers evenly. It prevents shifting and puckering, especially with thick layers.
The Blueprint: Prepping Your Pattern and Fabric
Most sewing mishaps come from hasty preparation. Do not skip these steps. They are the building blocks for a properly fitting and accurate garment. Devote the time they deserve.
Step 1: Understand Your Pattern
Read thoroughly the pattern envelope and instruction booklet. Identify your size using body measurements and not those of ready-to-wear sizes. Select the pattern pieces you need. Familiarize yourself with the markings. Notches, dots, and grainlines are your road map.
Step 2: Pre-wash and Press
Always pre-wash and dry your fabric as you are going to wash the finished jacket. This important step pre-shrinks the material. Your hard work won't pay off if the jacket can't be worn again after the first wash. Then press the fabric effectively to remove every wrinkle.
Step 3: The Art of Cutting
For the best accuracy, lay your fabric flat on a large surface. Pay close attention to each pattern piece's grainline. Make sure it's parallel to the selvage of the fabric. Use pattern weights to secure pieces in place. Cut long, straight lines. A common beginner mistake that can happen here is not transferring all necessary markings like darts and pocket placements before removing the pattern pieces. Use a chalk pencil or a disappearing ink pen while the paper is still pinned to the fabric.
The Main Event: How to Sew a Jacket, Step by Step
This is the place where the magic occurs. We've divided the typical jacket construction process into five manageable stages. As you go along, remember to press every single seam as you do. This is the golden rule for getting professional results.
Phase 1: Main Body Construction
The first step is the construction of the outer shell. This means sewing the darts or the princess seams initially. It entails sewing the front and the back pieces together at the shoulder seams. Press these seams open. Now, sew the side seams and press those as well. The outcome at this stage should be a garment resembling a vest.
Phase 2: Collar and Facings
The collar can be one of the most sensitive parts to handle. Work a little slow and use plentiful safety pins. After sewing the collar pieces, stitch them to the jacket neckline, placing it between the main body and the front facing. The main trick here is understitching. It involves sewing the seam allowance to the facing, which helps the collar to roll nicely and keeps the facing from being seen. If you ever want to get in-depth training on this stage, go to these advanced jacket sewing tips for handling collars.
Phase 3: Set in the Sleeves
Putting the sleeves requires easing a larger piece (the sleeve cap) into a smaller opening (the armscye) without creating puckers. Run two parallel basting stitches along the sleeve cap top. Gently pull the bobbin threads to gather the fabric slightly. This creates a smooth curve that matches the armscye. Pin the sleeve in place, right sides together, with all notches matching. You will know it's right when the sleeve cap is smoothly sitting without any sharp puckers or folds. Baste by hand or machine before the last stitch.
Phase 4: Lining insertion (for lined jackets)
The "bagging a lining" method is a common one and it is satisfying. You will make the lining as a separate and similar jacket. With the main jacket right-side out and lining inside-out, place the lining over the jacket so they're right-sides together. Stitch around the entire perimeter (front opening and hem). Leave a 6-8 inch opening in the lining side seam or bottom hem. Then turn the entire jacket right-side-out through this hole. It feels like magic.
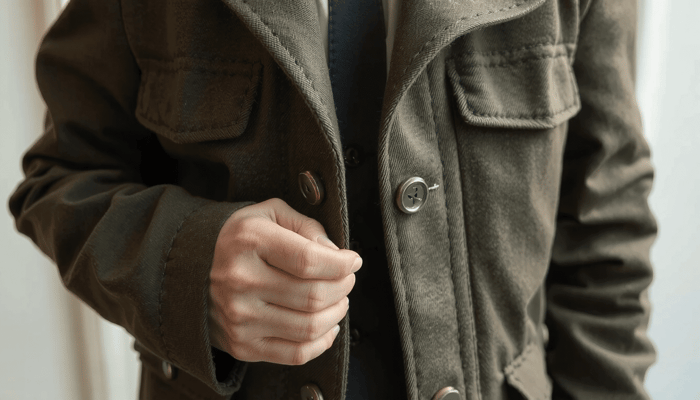
Phase 5: Finishing Touches
The final touches are what make the difference. Neatly hand stitch the lining opening. Carefully press the entire jacket. Topstitching is one more essential tip for professional results. You can finally add your closures. This could be sewing buttonholes and buttons or adding a zipper. Following a detailed step-by-step tutorial can help you visualize these final construction steps.
Pro Skills: Breaking the Common Jacket-Sewing Problems
Problems occur in even the most experienced sewer's work. Having the knowledge of how to fix them will build skill. Below are ways to eliminate common sewing jacket problems.
Problem: The seams are thick and bulky.
This takes place where many layers meet, such as at the collar or lapel points. The answer to this problem is grading the seams. After sewing, trim seam allowances to different widths. The one closest to the garment outside should be the widest. This staggers the bulk and makes a flatter, smoother finish. Additionally, using a wooden clapper after pressing will compress the seam noticeably.
Problem: My sleeves are puckered at the shoulder.
Puckers mean that the sleeve cap ease wasn't distributed evenly. Unpick the sleeve and check the basting stitches. You may need more pins (every half-inch sometimes) to hold the fabric more securely. Pressing the stitched sleeve cap over a tailor's ham can also help shrink out minor puckering.
Problem: My lining is pulling or hanging below the hem.
The lining should have some "ease" for the sake of movement. When you bag the lining, create a small fold or "jump hem" at the bottom. This means that the lining is hemmed slightly shorter than the jacket. However, a small pleat of excess material is folded up at the hem before sewing it. This gives the lining the space to move without pulling or showing.
Congratulations on this leap in your sewing journey! As you build skills, you may find your inspiration in the garments professionally made. Learning about the ways of the established makers and brands around high-quality jacket design at china-clothing-manufacturer.com can give you creative ideas and respect for the craft you are perfecting.
Frequently Asked Questions (FAQ)
1. Is it really hard to sew a jacket?
It is an advanced-beginner or intermediate project. The difficulty totally relies on the pattern that you choose. A simple, unlined chore coat is much easier than a tailored, lined blazer. Start with the easy ones to build confidence.
2. What is the best fabric for a beginner to sew a jacket?
Stable and medium-weight woven fabrics are the best choice. Think of cotton canvas, twill, denim, or corduroy. These kinds of fabrics press easily and they do not move around. As a result, the first time you are learning how to sew a jacket, you will find them very forgiving.
3. How long does it take to sew a jacket?
If it is your first time sewing a jacket, you should allocate 15-20 hours across several sessions. This includes cutting, prep work, and sewing. Do not hurry. Learn and enjoy the process of creating this complex finished product.
4. Do I have to line my jacket?
Not necessarily! Lots of impeccable unlined jacket beginner patterns are available. These are ideal for learning construction fundamentals. Often, a lining provides a professional finish and warmth but it also adds complexity. It is a good tactic to sew an unlined jacket first.
5. What's the most common mistake when you sew a jacket?
The most frequent mistakes are hasty preparations, inaccurate cutting, and forgetting to press all seams. Always spending time to press properly at each step of the way is the most important thing that you can do to achieve beautiful and professional-looking results.